I hope that you are having a wonderful week. My youngest two children started school yesterday. It seems like the Summer Break went by in a blink. I’ve been getting my Fall Decor in order to start my Autumn decorating. I thought today I would share step by step instructions for making a Fall wreath. Mr. Bleu so graciously volunteered to take photographs of the instructions. This post is lengthy, but I wanted to give adequate instructions.

You will need to gather the following floral supplies.
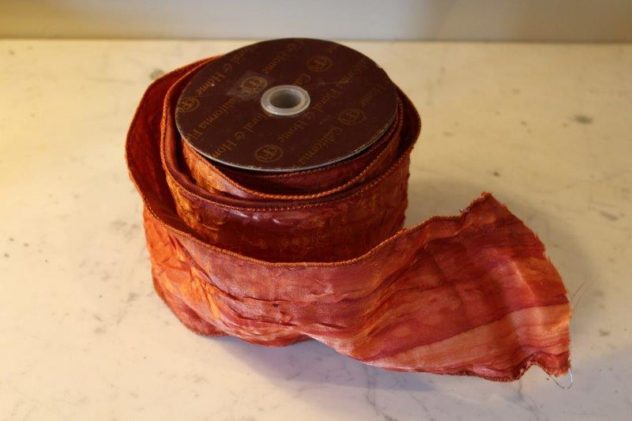
Wired Ribbon of Your Choosing
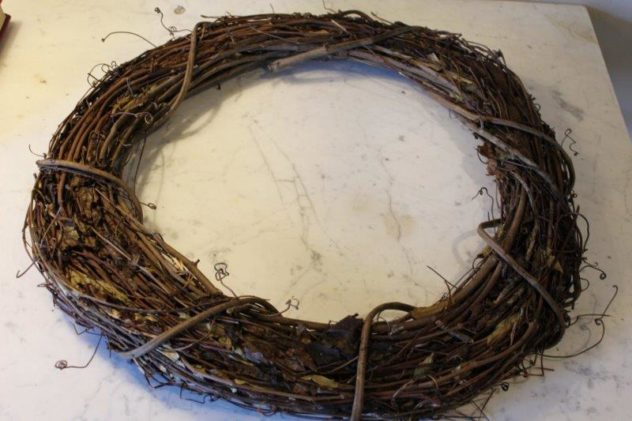
Grapevine Wreath
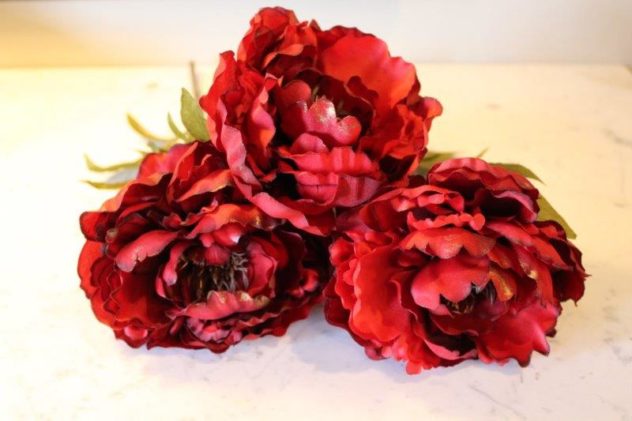
3 Large Faux Flowers of Your Choosing
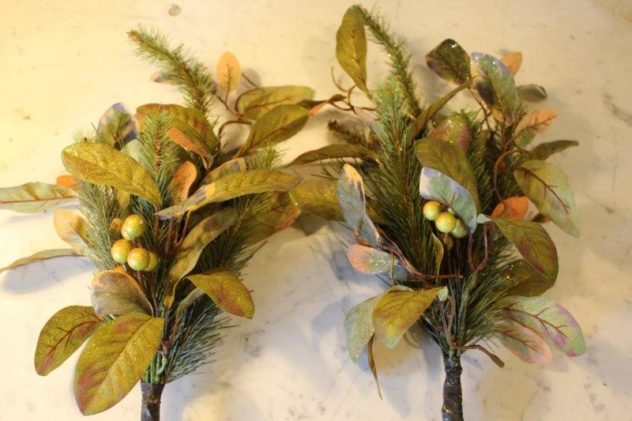
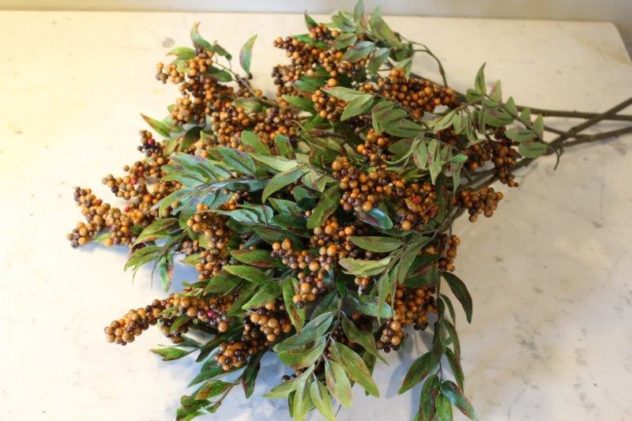
2 Greenery Branches with lots of interest. The ones I chose contained a mixture of foliage, pine cones, and pine branches.
3 Berry Picks
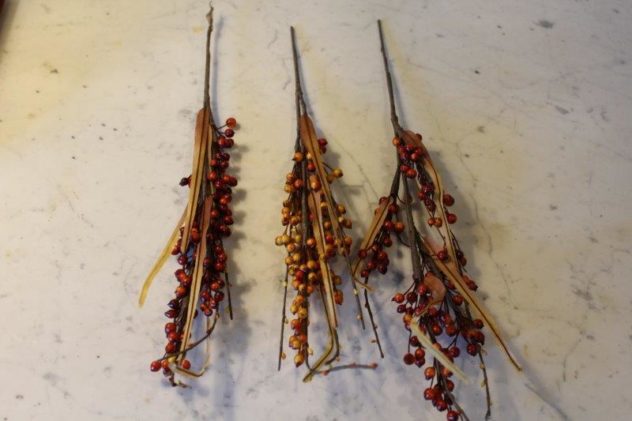
Berry Bush or Berry Branches to use as filler.
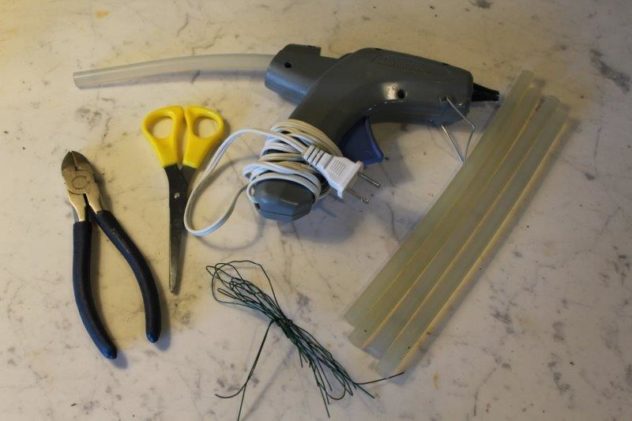
You will also need floral wire, wire cutters, scissors, glue gun, and glue sticks.
First, you will need to lay out your grapevine wreath. Take the two branches and spread out all of the leaves.
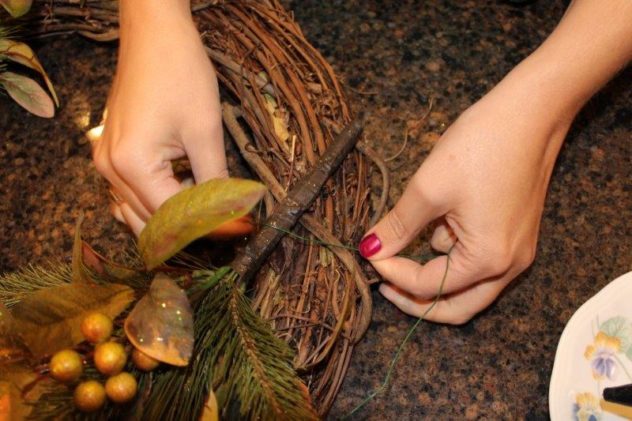
Place the first branch on the top curve of the left side that is facing toward you.
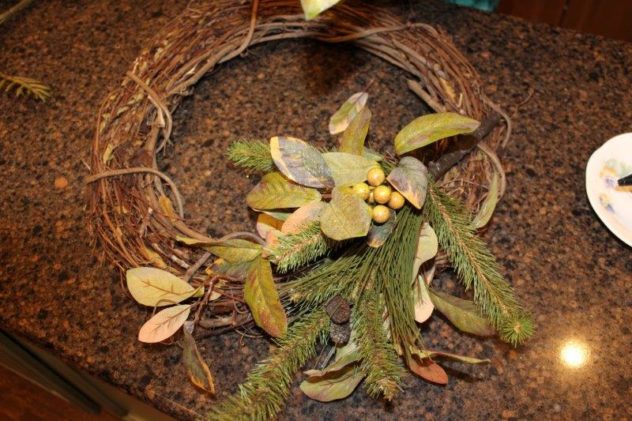
Secure the branch to the wreath with floral wire.
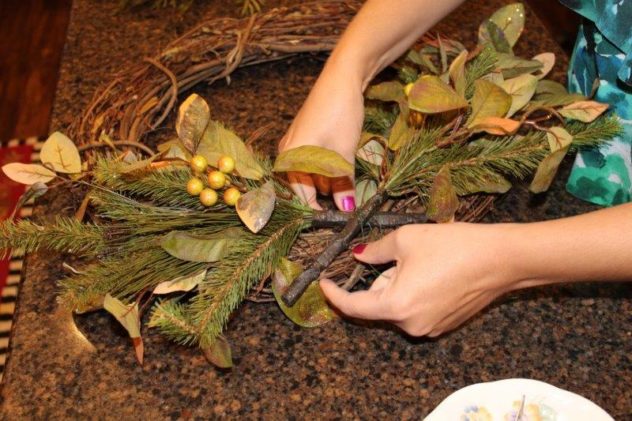
Take the second branch and place it on the bottom curve of the wreath (the left side facing toward you). Secure the branch to the wreath with floral wire.
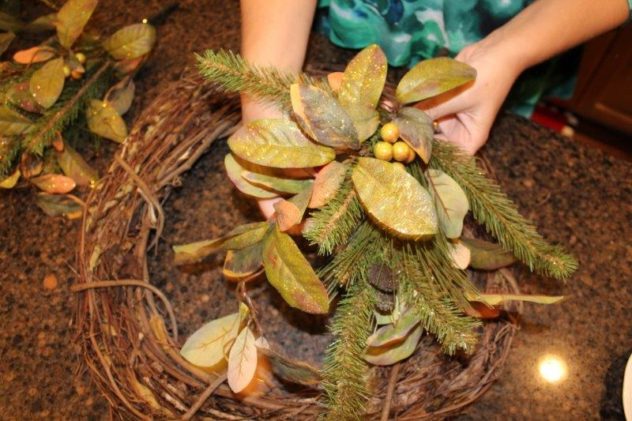
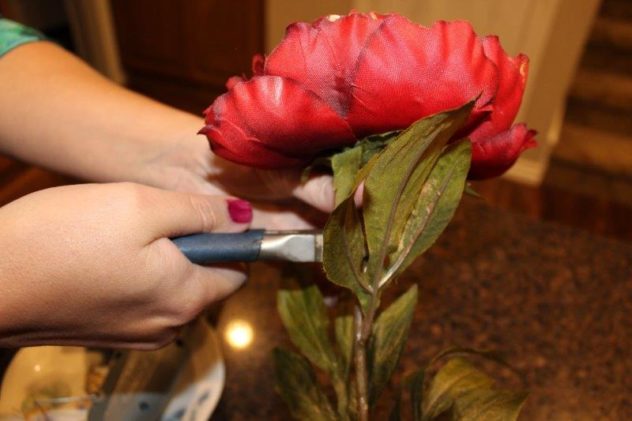
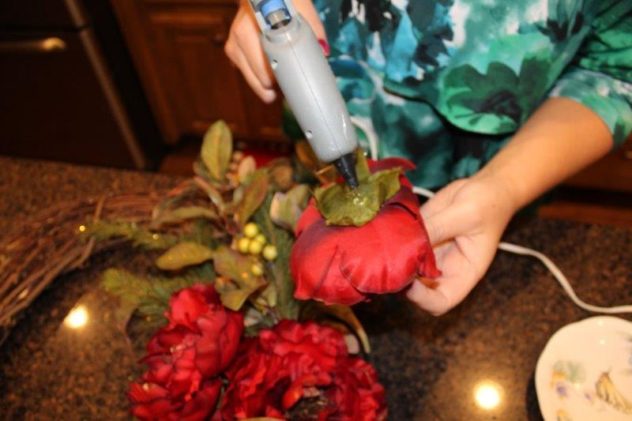
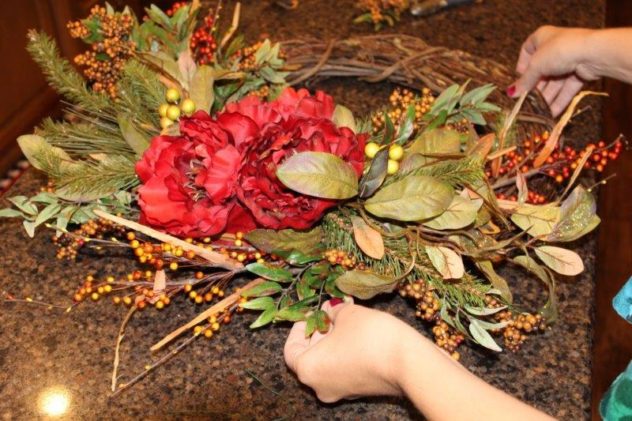
Take the three large flowers and cut them from the stem leaving half an inch of the stem on the flower. Save the leaves. Later,they will make great filler for the wreath.
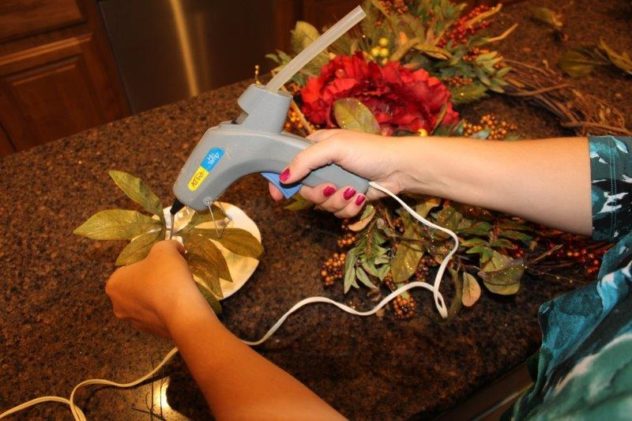
Place the three flowers in between the two branches you just secured to the wreath. Form a bunch. The flowers should be in the center of the left side of the wreath facing toward you. Secure the flowers to the wreath using hot glue. Be very careful with the hot glue. It is very easy to get burned.
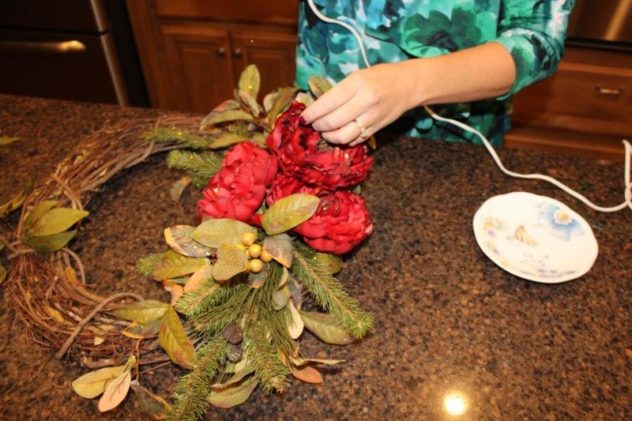
Take the three berry picks and make sure you spread out the branches. Place and secure them with hot glue in the three places I have illustrated in the picture. I placed one at the top, one at the side, and one on the bottom. I also want to apologize for the picture. We are amateurs and realized when going through the pictures, the wreath is facing the wrong way.
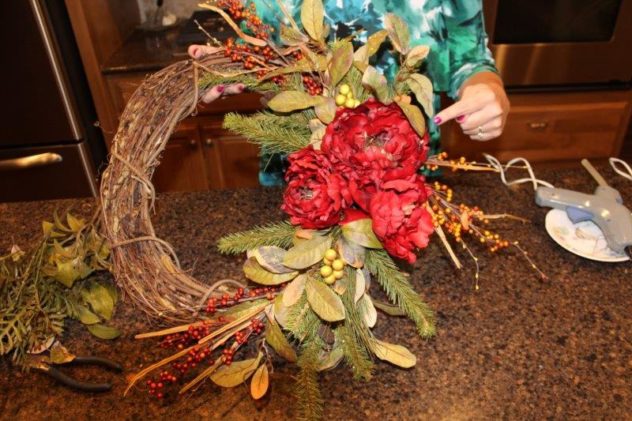
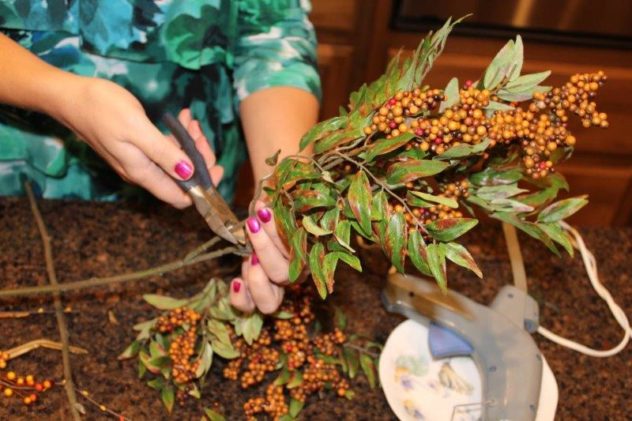
Next, it is time to fill in all of the bare spots. You can use the berry bush branches and leaves left from your floral stems. Always save the leaves. They make great filler. I simply cut pieces off of the berry bush and placed them wherever they were needed to fill in holes. It also helps to hang your wreath and stand back and look to see where it needs filler.
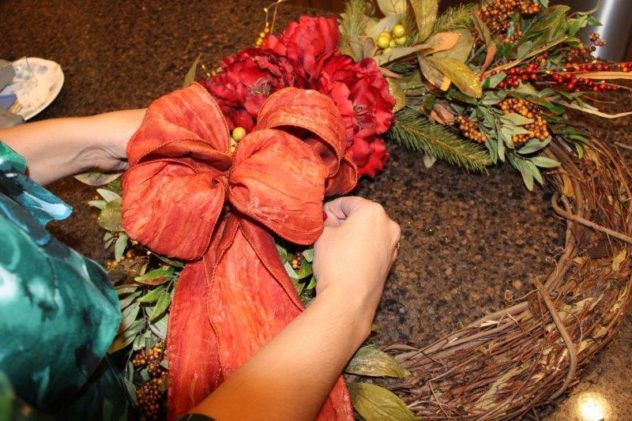
Lastly, attach your bow with floral wire to the wreath. If you need step by step instructions for making a bow, I have included them at the end of this post.
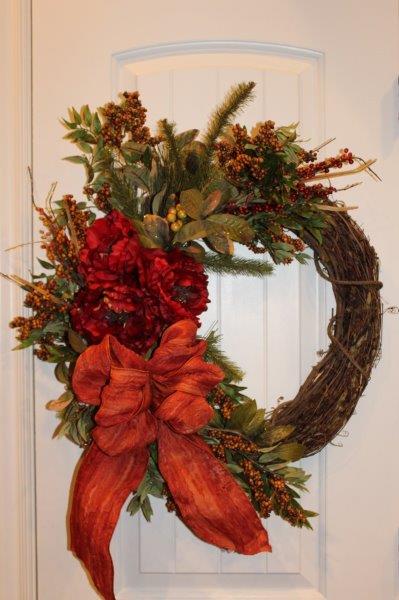
The finished product.
I took a floral class when I was first married. This is how I was taught to make a bow. I’m sure there are other ways to make a bow, but this works best for me. Hopefully, you will find these instructions helpful.
First, pull off enough ribbon from the spool for a tail. I would leave a little extra. You can always trim it later.
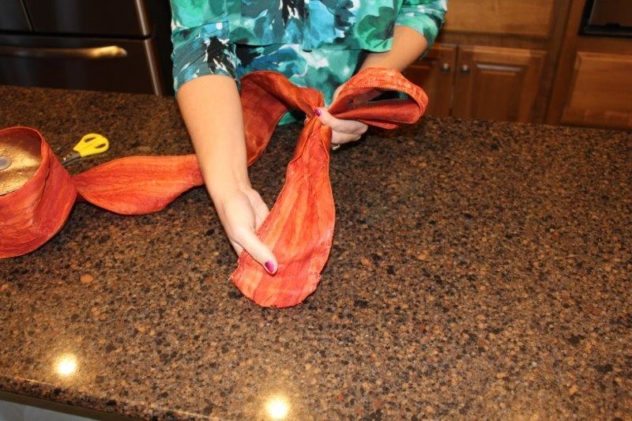
Second, make a loop on one side, pinch it together, and twist.

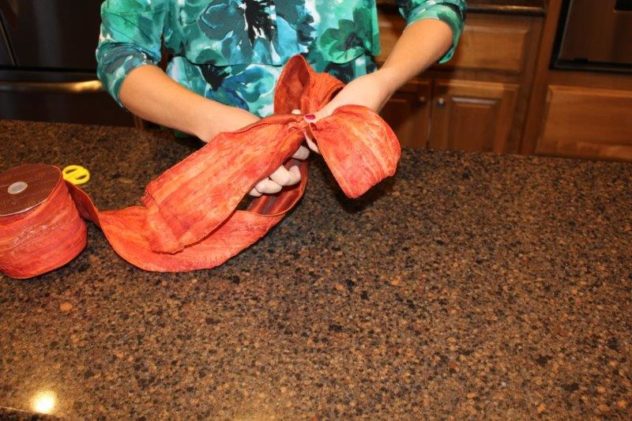
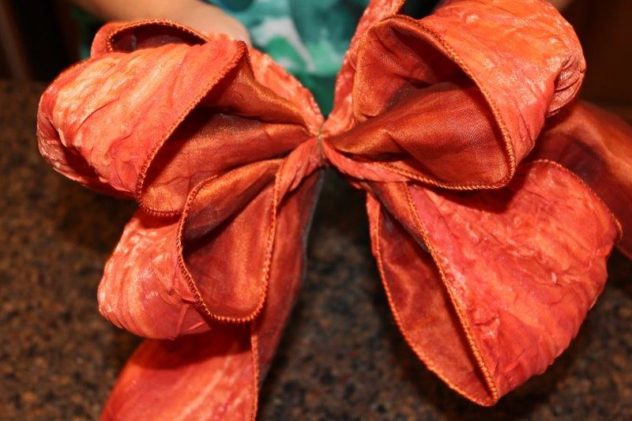
Repeat on the other side. Make a loop, pinch it together, and twist. Alternate sides until you get the desired amount of loops for your bow. For this wreath, I did three nice size loops on each side.
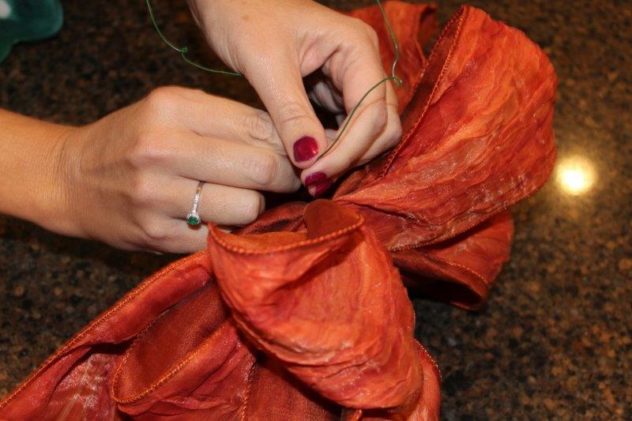
To secure the bow together, take a long piece of floral wire shape it into a U. Slip the middle of the bow into the wire and twist the wire tightly on the back of the bow where it does not show. Do not cut off the remaining wire. You will want to use this to tie your bow to your wreath. Also, if you are making bows for a Christmas Tree this will help you to secure the bows to the branches.
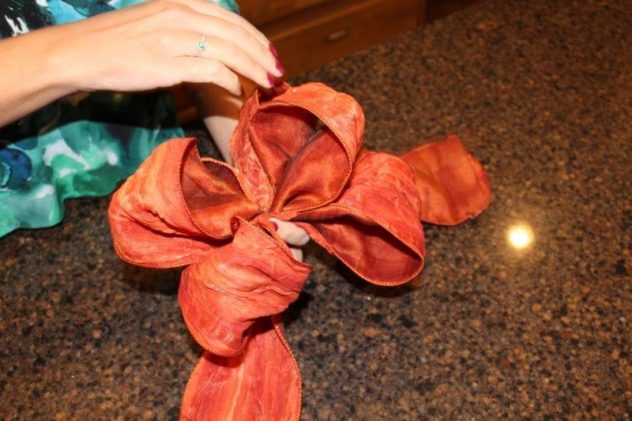
Lastly, fluff the loops of your bow to give it the desired look.
I chose to hang my wreath on my coat closet door in my entry hall. I like to hang seasonal wreaths in unexpected places. I figured the entry hall was the perfect place.


Thank you so much for stopping by today. I’m sorry this post was so long, but I didn’t want to leave anything out. I’m by no means a floral designer. There is probably a much better way of making a wreath along with a better technique. I just wanted to share with you something that works for me. If you have any questions at all, please send me a message. I know I’m not always the best at giving instructions. I hope that you will join me tomorrow for Tablescape Thursday. I have a really neat tablescape planned. Have a Wonderful Wednesday!!!


Beautiful wreath. Thank you for the detailed pictures. Have a wonderful day.
Thank you so much Jeanne for the kind comments. I hope that you have a wonderful and blessed day!!!
Such a gorgeous wreath Shannon!
Thank you Shirley! I hope that you are having a wonderful week!
Beautiful! I love the colors you chose.
Happy Thoughts of Home. 🙂
Thank you Stacey and thank you for allowing me to be a part of Thoughts of Home on Tuesday!!! I hope that you have a wonderful afternoon!!!
Lovely Autumn wreath. I really appreciate you taking the time for step by step instructions. Fall is just around the corner. Yippee!
Thank you so much Snap! I’m ready for Fall too! I can’t wait for the Fall colors and cooler temperatures. I hope that you have a wonderful afternoon!!!
My post is on wreaths, too….
yours is very pretty…and I hang one on my bedroom door. 🙂
I finished making one the other day and then found another one I liked better so I am about to start over….
here from Rattlebridge
Thank you BJ! I’m so happy that you stopped by, and I hope that you have a wonderful weekend!!!
Shannon,
Your instructions for making your beautiful fall wreath are excellent! Thanks to the hubby for lending a helping hand with the photography. We love having you as part of the first Monday Social.
Judith
Thank you Judith! I hope that you have a wonderful week!!!
Thanks for linking up to Monday Social. I love this. It’s so pretty. I hope you will come back and visit us again.
Thank you Katie for your very sweet comment! I will for sure visit again! I’m so happy that you stopped by, and I hope that you have a wonderful day!!!
I love the wreath you created. It’s perfect for autumn, By the way, thanks for the instructions. I saw your link at Kathryn’s Make It Pretty party.
Hi Ann Marie! Thank you so much for your very sweet comments! I’m so happy that you stopped by, and I hope that you have a wonderful and blessed week!!!
Very lovely, Shannon. And great instructions. Saw you on Make it Pretty Monday. Great to discover your blog! Donna
Hi Donna! Thank you for your very sweet comment! I’m so happy that you stopped by, and I hope that you have a wonderful and blessed week!!!
Hi Shannon, What a lovely wreath. The colors are so fall. You also did a great job on the tutorial.
Thank you for sharing at DI & DI 🙂 We enjoy your creativity each week!
Thank you so much Lori! I hope that you have a wonderful and blessed week!!!
My front door wreath is looking pretty sad and not even an update would work. Thanks so much for this tutorial and thanks for joining us this week at Celebrate Your Story and sharing your links.
Sandra, my poor front door wreath was on its last leg-lol! It was time for a new one this year. Thank you so much for your very sweet comments. I’m so happy that you stopped by, and I hope that you have a wonderful weekend!!!
I really appreciate the step by step instructions for the wreath. Yours is beautiful!
Julia, thank you for your very sweet comments. I know that I am not always the best at explaining things. I’m so happy that you stopped by, and I hope that you have a wonderful and blessed weekend!!!
Very pretty! Thanks for sharing!