Saturday afternoon, the wind finally cooperated, and I was able to work on my chandelier project for the upstairs reading nook. I purchased the chandelier from a moving sale along with a rug and artwork for the upstairs bonus room. Even though the chandelier wasn’t the right color, I decided it was too good of a deal to pass up and would try my hand at making it over to suit the style of my room.

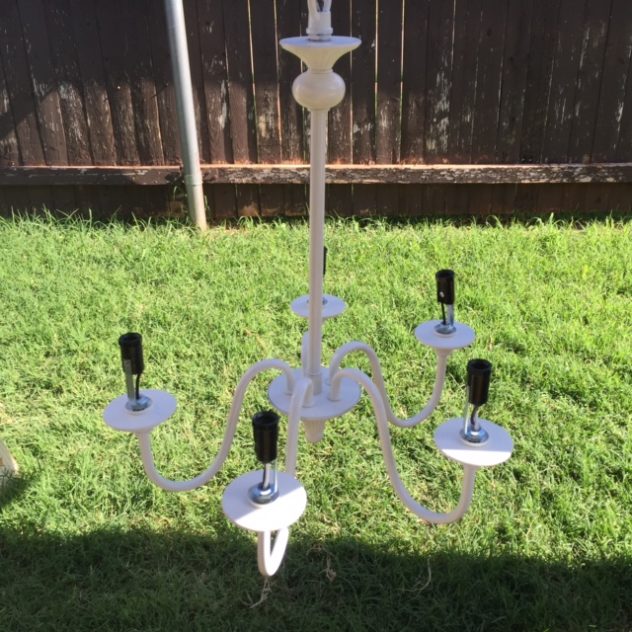
This is the way the chandelier looked before the makeover.
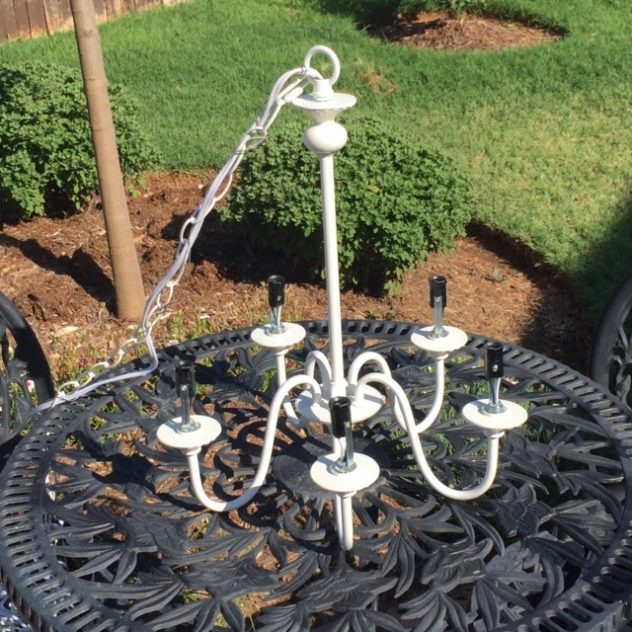
I hung the chandelier outdoors in a safe, well ventilated area and painted it with Rustoleum Metallic Burnished Amber Paint.
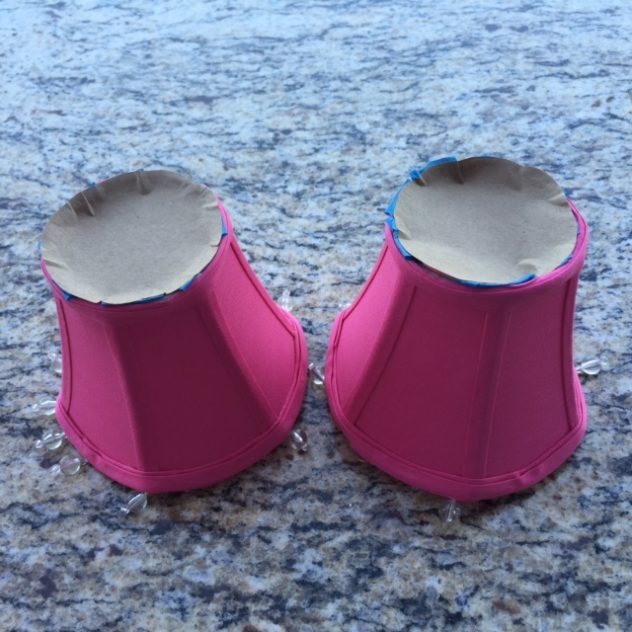
The chandelier came with brand new hot pink shades, but I figured I would just replace them with red shades. However, I thought I might first try to spray paint them with red paint. I figured I had nothing to lose. If they didn’t turn out, I was just out the cost of a can of spray paint rather than the price of buying 5 new chandelier shades.
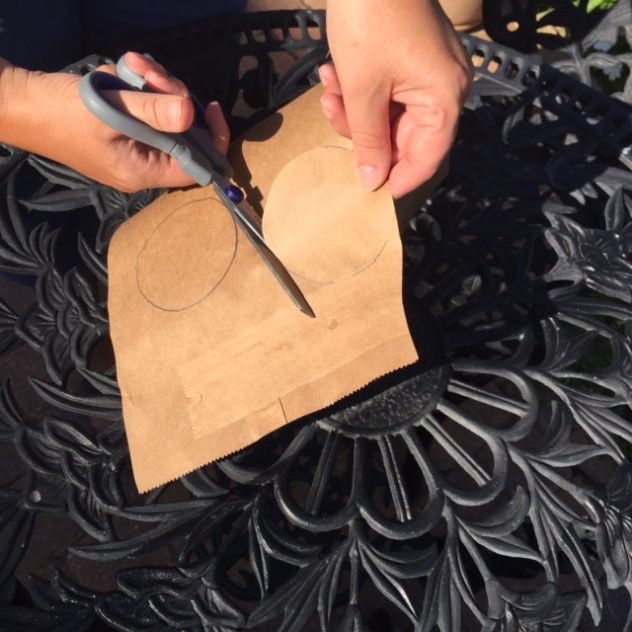
I took a brown paper sack and traced the tops of the shades to create a top to protect the inside of the lamp shade.
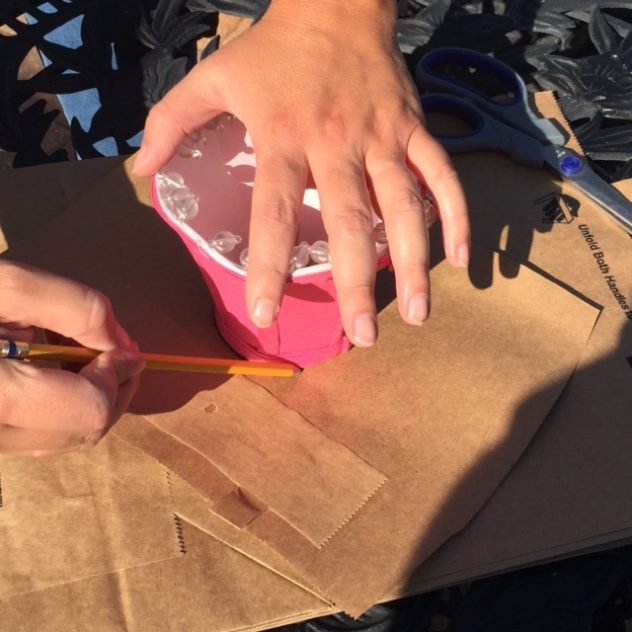
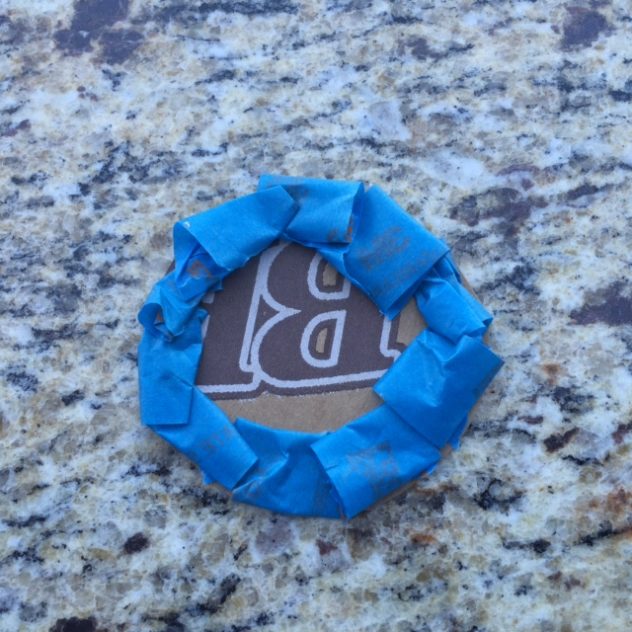
I then looped tape pieces all around the outer edge of the circle. This may seem like I was overdoing it with the tape, but I wanted to put a tight barrier around the shade to keep paint out of the inside of the lamp shade.
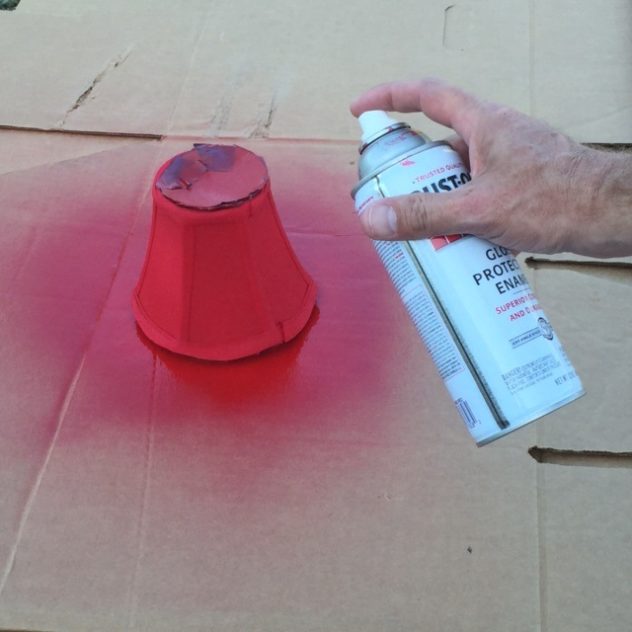
Next, my husband sprayed a light coat of the red paint over the outer part of the shade. I was fortunate that the shades were bright pink because this made a good base color, and I only had to apply one coat of paint. If you have to apply more than one coat of paint, make sure it is several light coats allowing the shades to dry in between coats. If not, you will end up with drip marks.
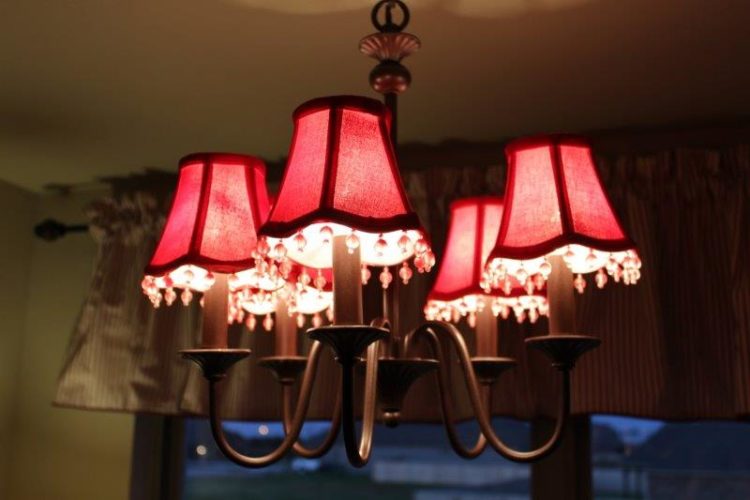
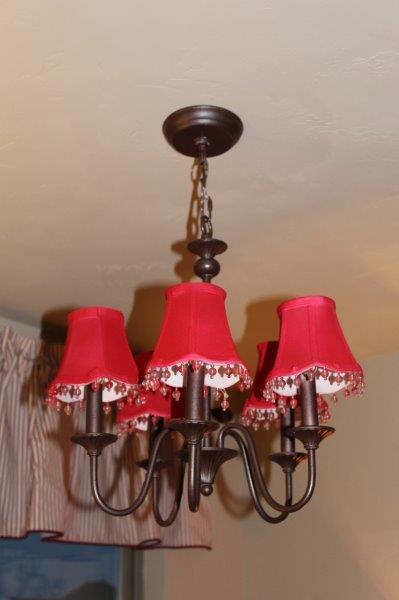
This is the final result. I think it turned out pretty good for the price that I paid for the chandelier. The total project only cost me $30.
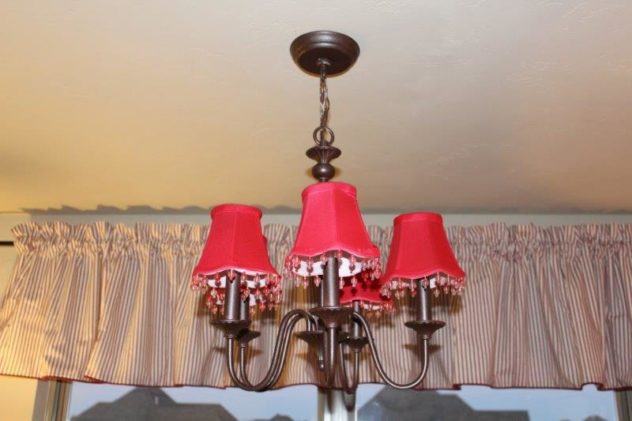

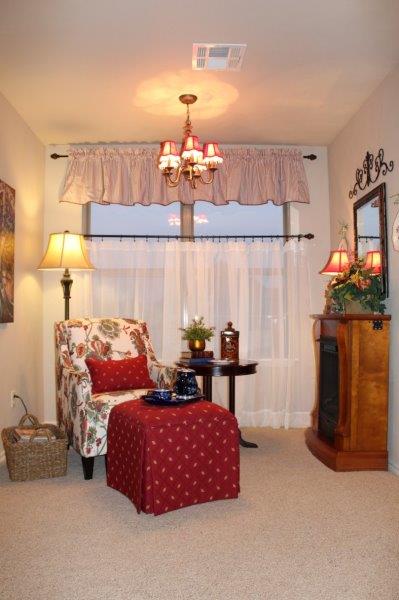
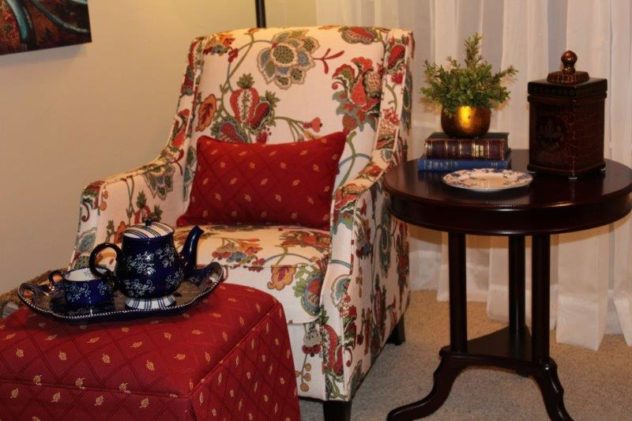
Below is the redesigned chandelier in the new reading nook.
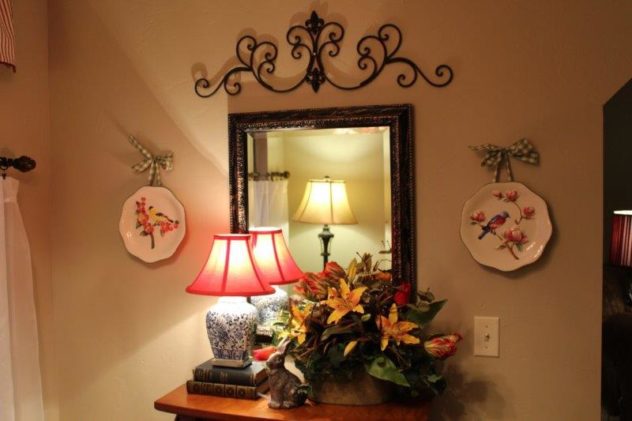
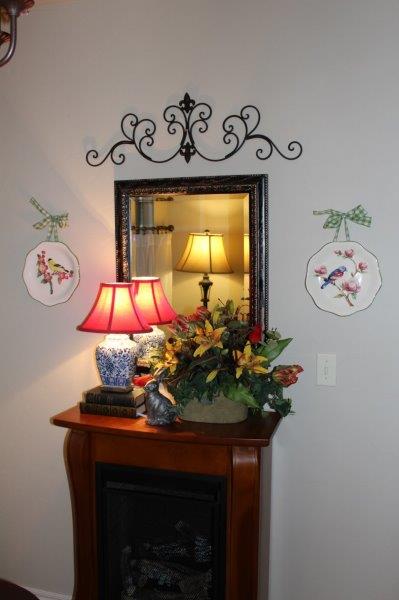
I have also added a couple of bird plates and iron to the area since I last shared it with you. The mirror just seemed to be missing something.
Thanks so much for stopping by. Next week, I will be revealing my entire bonus room makeover. I hope that you all have a wonderful Wednesday!!!


Beautiful job!….love the technique of keeping the paint from going into the inside of the shade.
Thank you Shirley! I kind of got carried away with the tape, but I wanted to put a tight seal on the shades. It worked, and I’m surprised at how well the shades turned out. It sure saved a lot of money by not having to buy new shades.
Shannon, the chandelier turned out beautiful! It is amazing what can be done with a can of spray paint! Happy Weekend!
Thank you Pam! I have changed the look of many a things with spay paint. This was my first time to paint lamps shades, but they really turned out nice. I hope that you have a blessed and wonderful weekend!!!
Never thought of painting lamp shades, interesting. I certainly have a few I could try it on. Thanks, Sandi
Hi Sandi! It is worth a try. You just have to make sure you protect the inside of the shade and use only light coats of paint so that you don’t get drip marks. I’m so happy that you stopped by, and I hope that you have a wonderful day!!!
Hi Shannon!
You have a beautiful home. I love it when a “give it a try” works out!! 🙂 Thanks for sharing and linking up at Dishing It & Digging It 🙂
Thank you Lori for your sweet comments. I’m so happy that you stopped by, and I hope that you have a great week!!!
I love how it turned out! Great idea to try spray paint. I painted mine with a sponge brush and watered down latex. Worked great also. I also love the beads on your shades.
🙂 gwingal
Thank you so much Nikki! I’m so happy that you stopped by, and I hope that you have a wonderful afternoon!!!
That is GREAT! and I love the little reading nook.
FYI you can also spray the inside of shades with shiny gold paint and the light coming from them is beautiful. I have done a couple for my dining room and it was “love at first light”….ewww that was lame!!!! :^)
Blessings,
J
Jaybird, thank you for that great tip! I love that idea. I’m going to have to try that.